I used an ordinary pencil with an attached eraser as one of my markup tools. I've found that a pencil works well for this as if you make a mistake you can easily, literally, erase it! To draft my patterns I use the Lutterloh plastic tools and also the Bruce Oleyar tools or curves. These rulers work well. I got the Bruce Oleyar tools on sale from a person on eBay. The pattern drafting board is made of cardboard and, luckily for me, my husband worked to reinforce the board on the back with Elmer's glue boards made of Styrofoam. These you can buy at Walmart along with the pattern drafting board. The pattern drafting board was about $5.00 or so. Also I used an ordinary wooden ruler, but you can use the fancy Bruce Oleyar curves and/or the Lutterloh curves or any cheap, plastic, see through ruler - even rulers for quilting if you have those available. I had a tape measure handy to measure my completed patterns on another project. I used ordinary, store brand tape to tape some of my pattern pieces together for another project. I used a medium sharpie to draw or draft the pattern pieces.
Here are the pictures:
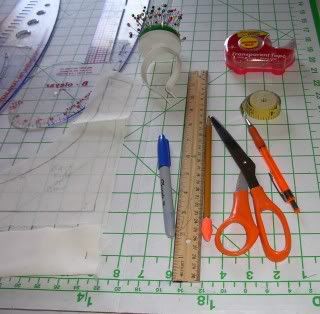
Here you can view the sharpie, the pencil, a pen, ordinary scissors, ordinary scotch tape, tape measure and a wrist pin cushion.
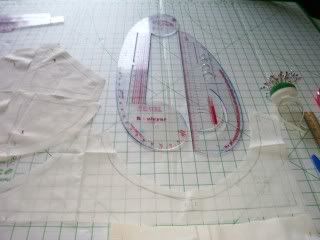
Bruce Oleyar curve on the left side and the Lutterloh curve on the right side.
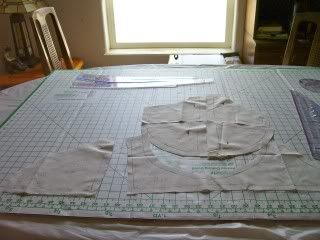
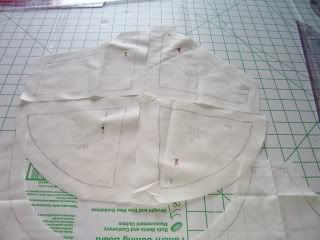
Furthest away from the viewer are the Lutterloh hip curve and the Bruce Oleyar two piece hip curves. On the left is the back side band, in the center is the left side of the underbust band along with the four part bust piece - (just the left bust).
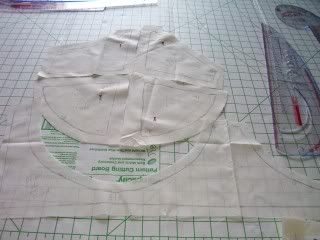
The left bust area and the Lutterloh curve.
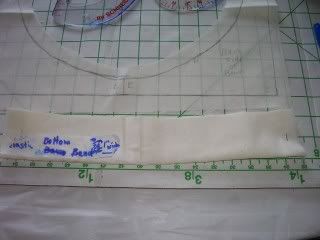
The actual lower band. This piece will have a center piece of 2" of 1" wide elastic.
I hope to do more later. If you need larger pictures email me. Please stay tuned and follow me! Thank you!