Showing posts with label cone bra. Show all posts

Wednesday, July 25, 2012

07/25/12 Bullet Bra progress - Pattern Pieces Markup

Hi there!  Today I have finally cleared off the dining room table and completed marking the pattern pieces for the bullet bra!  Yay!  I have used Muslin that I got on sale or at a good bargain from http://www.fashionfabricsclub.com/.  Today I didn't notice any Muslin at all, yet this is where I bought it from.  You're sure to find another fabric you can use, as I did, for your mockups - just keep looking.  :) 

I used an ordinary pencil with an attached eraser as one of my markup tools.  I've found that a pencil works well for this as if you make a mistake you can easily, literally, erase it!  To draft my patterns I use the Lutterloh plastic tools and also the Bruce Oleyar tools or curves.  These rulers work well.  I got the Bruce Oleyar tools on sale from a person on eBay.  The pattern drafting board is made of cardboard and, luckily for me, my husband worked to reinforce the board on the back with Elmer's glue boards made of Styrofoam.  These you can buy at Walmart along with the pattern drafting board.  The pattern drafting board was about $5.00 or so.  Also I used an ordinary wooden ruler, but you can use the fancy Bruce Oleyar curves and/or the Lutterloh curves or any cheap, plastic, see through ruler - even rulers for quilting if you have those available.  I had a tape measure handy to measure my completed patterns on another project.  I used ordinary, store brand tape to tape some of my pattern pieces together for another project.  I used a medium sharpie to draw or draft the pattern pieces.

Here are the pictures:
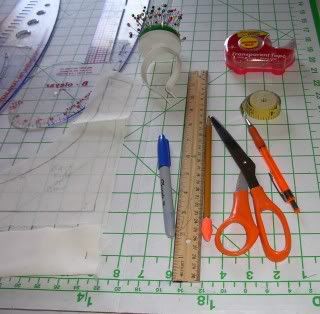
Here you can view the sharpie, the pencil, a pen, ordinary scissors, ordinary scotch tape, tape measure and a wrist pin cushion.
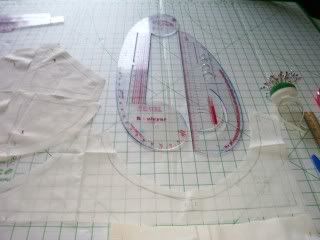


Bruce Oleyar curve on the left side and the Lutterloh curve on the right side.
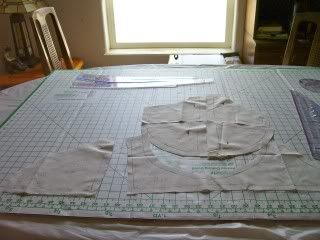

                                         
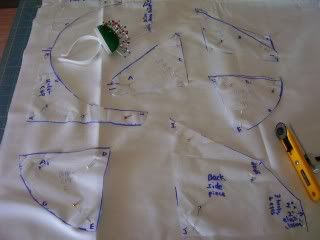
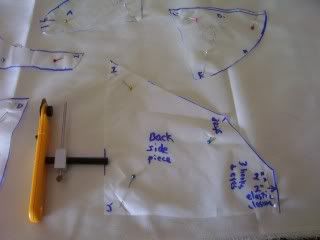
Furthest away from the viewer are the Lutterloh hip curve and the Bruce Oleyar two piece hip curves.  On the left is the back side band, in the center is the left side of the underbust band along with the four part bust piece - (just the left bust).
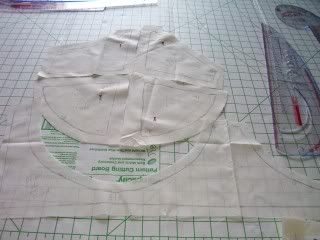

 
The left bust area and the Lutterloh curve.
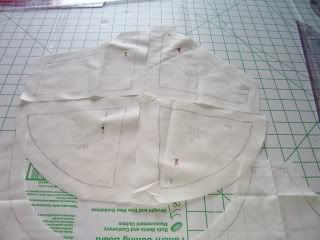
I drew in all the seam allowances as well as the other markings, due to the fact that I am not yet very skilled at cutting out the fabric with the 28 mm Olfar Rotary Cutter and Seam Allowance Guide.                                        


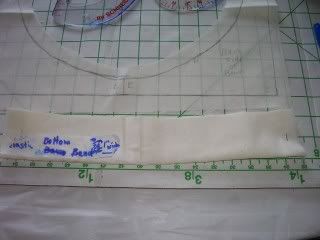
The actual lower band.  This piece will have a center piece of 2" of 1" wide elastic.                             


I hope to do more later.  If you need larger pictures email me.  Please stay tuned and follow me!  Thank you!


Wednesday, July 4, 2012

Mrs. Depew

Hi!  I just have to post a mention in my blog about Anna Depew's blog and her items for sale on Mrs. Depew Etsy.com.  She is a very knowledgeable woman who specializes in recreating vintage patterns.  Her own items for sale on Etsy.com come with clear instructions and her photos and explanations, especially on her sew a long's are really helpful.  The lingerie is really beautiful.  If nothing else her website on Etsy.com is worth a look for anyone interested in vintage lingerie, sewing patterns, knitting patterns and similar things.  She answers any questions you may have and is always happy to help.  Right now she is having another giveaway of her patterns!  What could be better than that?  You really should follow her blog, "A Few Threads Loose".  Thanks for reading and stay tuned for my bullet bra updates!

Friday, June 15, 2012

Bullet Bra: Layout and cutting out pieces

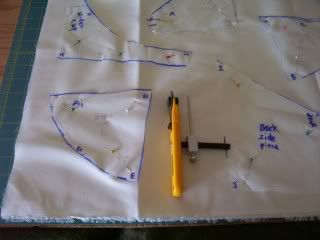
Hi!  There's been a lot going on here and today, June 15, 2012, I have finally had the opportunity to lay out the bullet bra pattern pieces on the muslin and cut them out.  The photo below shows some of the pattern pieces laid out onto the muslin and also the Olfa rotary cutter with guide arm and the Olfa green cutting mat.  One will not work without the other, trust me.  The Muslin bolt I purchased is 48" wide and was rolled onto the bolt doubled.  For every piece I cut out there will be four pieces.  Next time I'll undo it so there won't be so many on the folded fabric.  The fabric is 24" wide when folded and it would take about 24" of fabric if your fabric is 48" wide for the size 46 DD bullet bra.  Please note that this bullet bra will be made out of cotton or similar fabrics - NOT the stretch fabrics, slinky, milliskin, tricot or spandex lycra of most bras.

Layout of pattern pieces


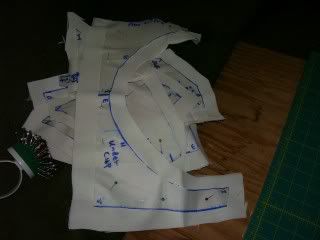
The pieces cut out but still pinned to the pattern pieces


Finally, shown above, here are the pieces cut out.  I still have to mark the pieces so I kept the patterns pinned to them.  This is my first use of the Olfa rotary cutter and guide and single large Olfa cutting mat.  I must say it will take more practice on my part in order for me to get proficient in its use!  Buy yours here.  Buy the Olfa rotary cutter and guide arm by itself here.  It was not as easy as the video made it look. This video, by Bruce Oleyar, is really a great addition to any seamstress or would-be seamstress's or tailor's video library.  Bruce not only explains step-by-step how to use the Lutterloh system, but also how to alter pattern pieces, sew them together correctly so you don't get that "hand made" (unprofessional) look, how to design your own patterns and more.  Please note that my own bullet bra pattern was made by me using my own measurements and some ideas I found freely on the internet. 

You may also find the Olfa products for sale on such websites as eBay.com or else other websites.  If you have a Michael's store nearby, they used to sell them there; however, I am not sure if they still carry them.  Certain select sewing and/or fabric stores may have these Olfa products as well.  Don't buy the Fiscars or other cutting mats as they will dull your blade and not cut correctly no matter the brand of your rotary cutter.

Because of my various health problems this simple step of laying out the pattern pieces, pinning them to the muslin and then cutting them out left me needing rest.  Normal people should be able to cut out the pattern pieces in perhaps about 20 minutes or so.  My husband also helped me by laying the plywood, cutting mat and fabric bolt out for me on the bed.  I don't have a cutting table - wish I did.  I have to do things that are affordable to me and this economy is bad, as you know.

So as I mentioned the next step would be for me to mark the individual pattern pieces and to "clean them up" with a pair of sharp scissors I use ONLY for cutting fabrics.  I suggest you also buy a good pair of shears and use them only to cut fabric out with.  Don't even use them to cut out the pattern pieces as that will dull the blades of most shears or scissors really fast!  You might like to try the Kai scissors here.  My own scissors I purchased a long time ago from a sewing and fabric store - I forget which one.  They were fairly expensive, I think about $30.00 at the time.  They are Gingher scissors.  If you need larger pictures please contact me and I can send them to you.  :)

If you have any comments, criticisms or suggestions, please leave them.  Thank you!  :)